
T2 · Teacher guide
Create your first activity
Create a guided activity in three steps: the goal, the tools, then check and start.
What an activity is
An activity is a single guided task your students open in the tutor. You say what the students should learn and, optionally, what they work with — a simulation, a table, a chart, a calculator, a note and more. Students join with the class group code and work through the activity in conversation with the AI physics tutor, which works towards the goal you set.
You do not need to write any code, and you do not need a developer. Everything on this page is done in your browser.
Step 1 — Start a new activity
From your teacher area, open Activities and select New activity. (You can also start from a class: on the class page's Setup tab, open Add activity and choose Create a new activity…, which picks that class for you.)
A new activity is made in three steps — Goal, Tools and Check and start — shown at the top of the page. The preview beside every step shows what students will see. Back returns to the step before, and Cancel asks before it throws away what you have written.
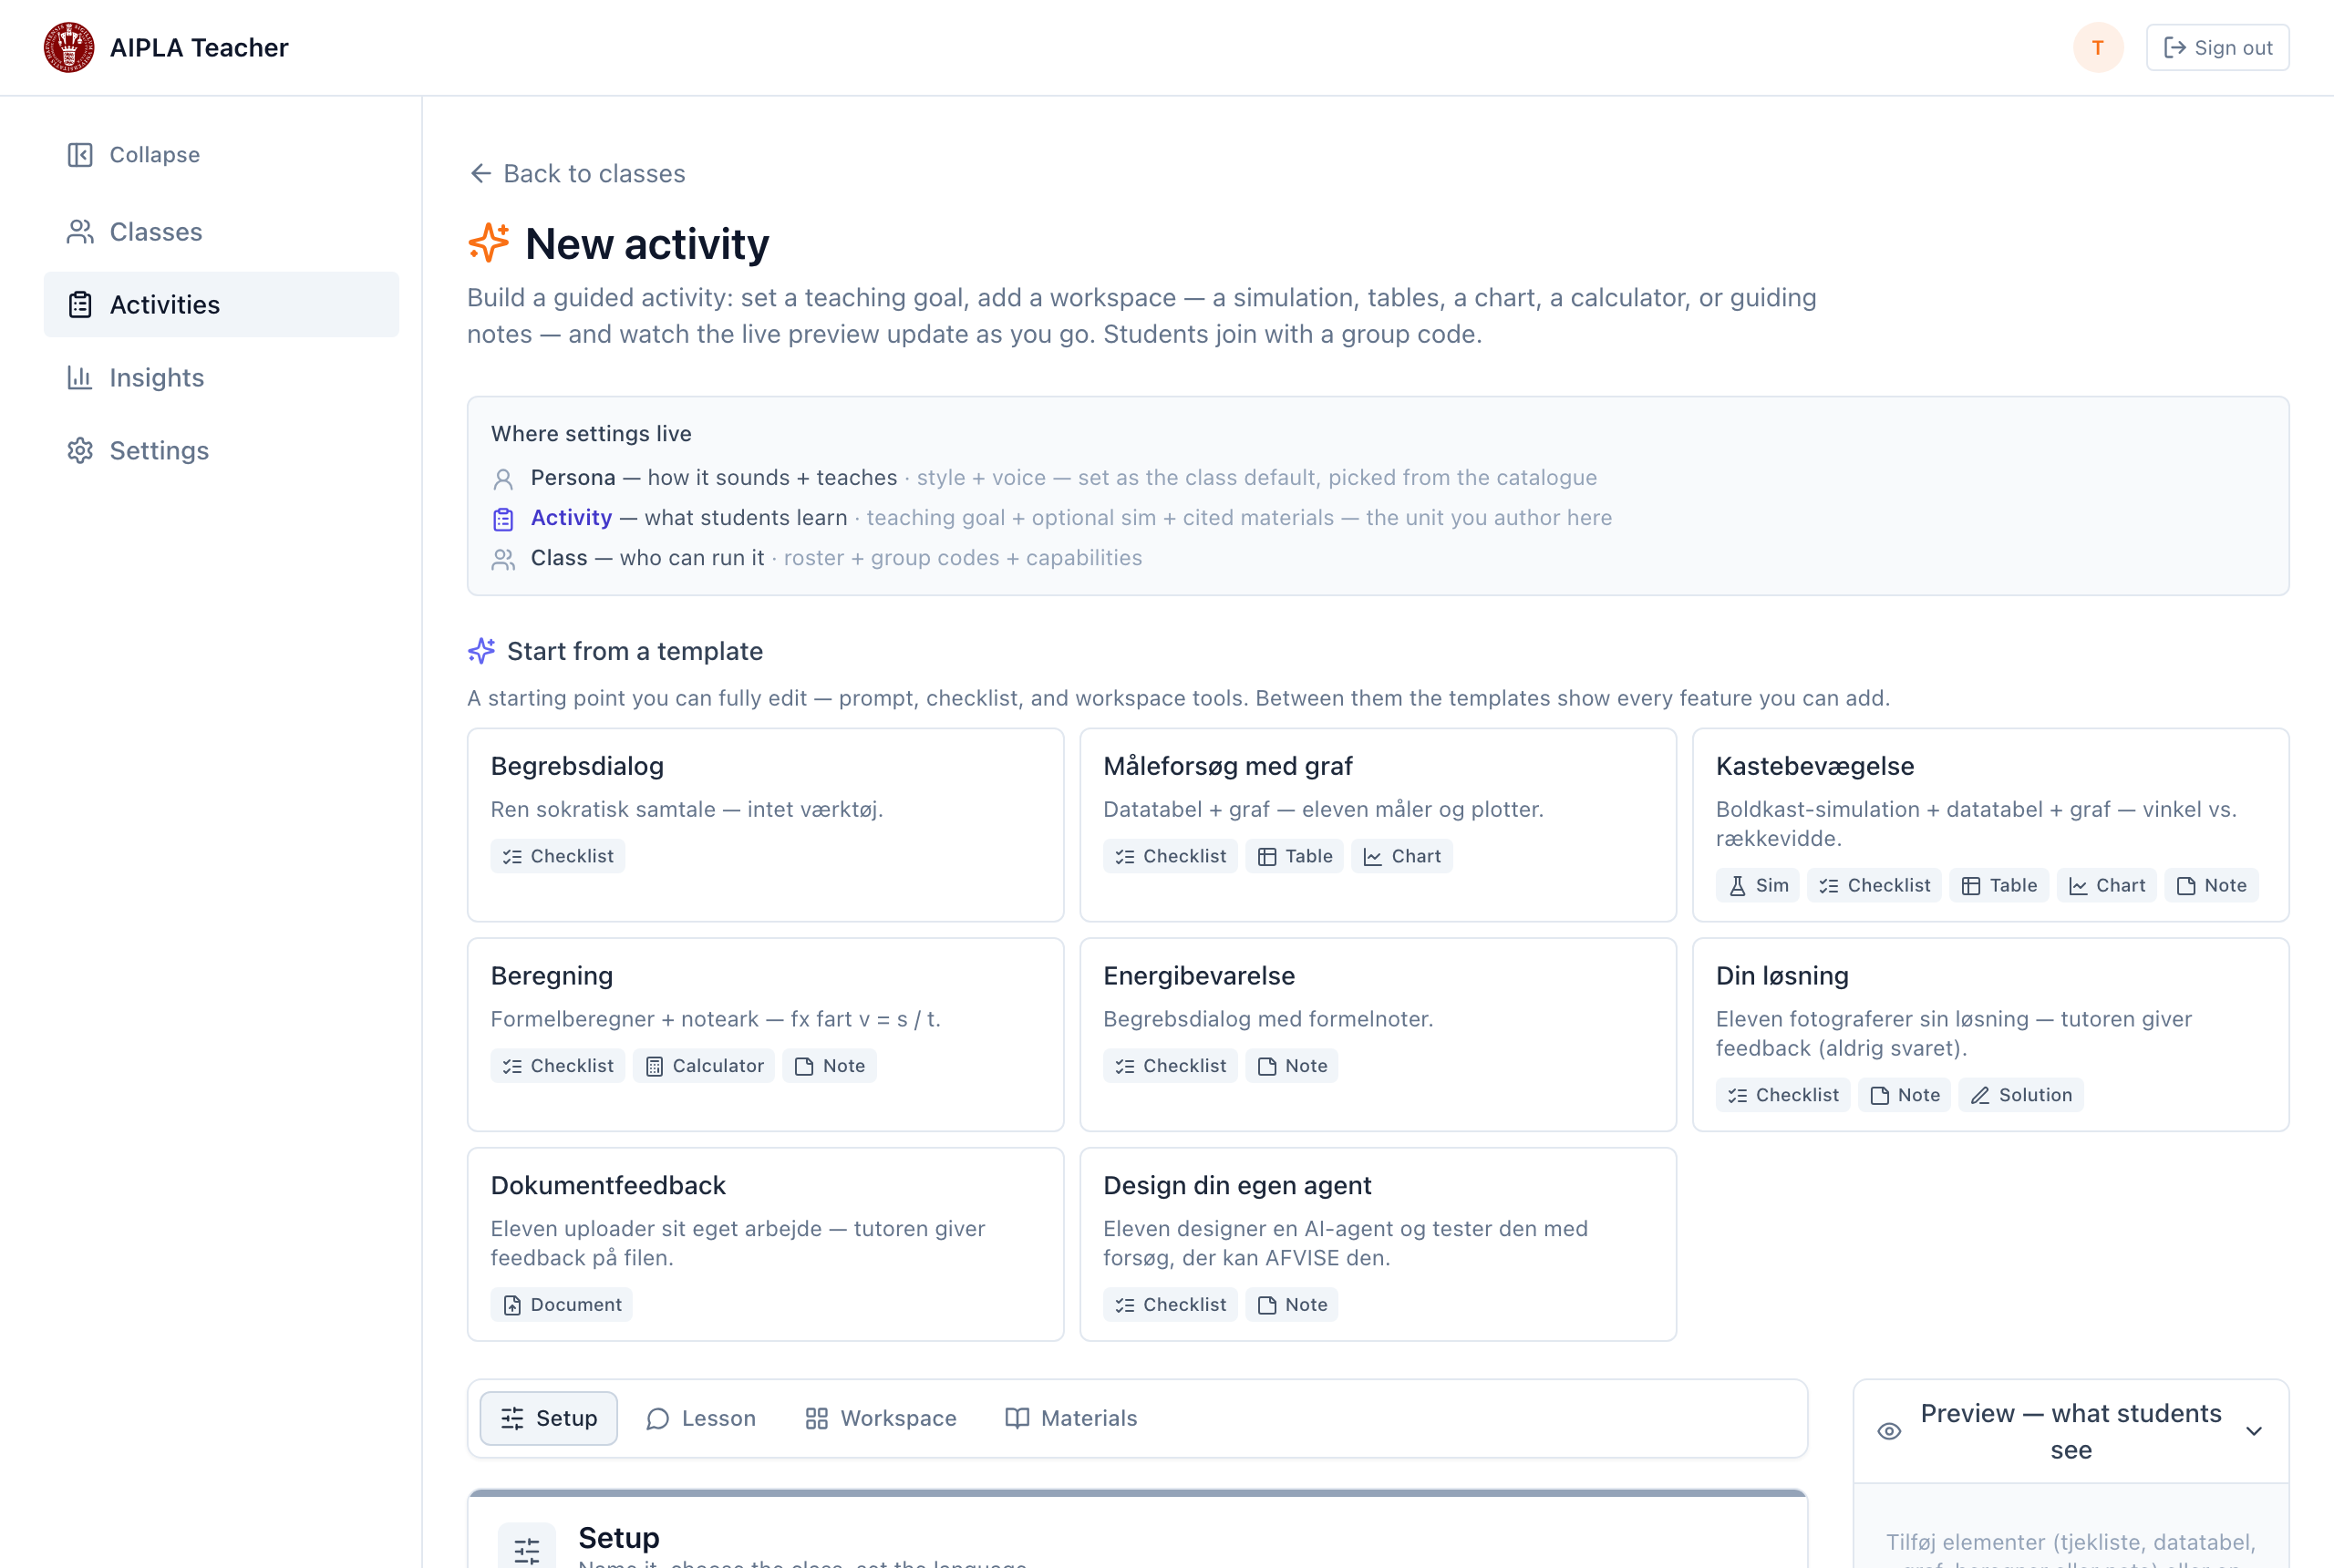
Step 2 — Goal: what should the students learn?
The first step asks one question: What should the students learn? Write the goal, not the answer — for example, "Understand why the horizontal and vertical parts of a throw are independent of each other." The tutor never gives the answer away.
Write what students should learn, not how the tutor should teach. How it teaches comes from the class's tutor (guide T1). If your goal contains lines about tone, hints or whether to give answers, the page points them out and offers Move to notes for the tutor.
The rest of this step is filled in for you:
- The class. The line above the question says which class the activity is for. If you have more than one class, Change class picks another.
- Name. A name is suggested from the goal once you have written it. You can change it.
Concept map. Under the goal, the Concept map card suggests the concepts students must understand and what builds on what, once you have written a few sentences. Each concept says when it counts as understood; the tutor checks them during the activity. Use the suggestion adds it, Edit opens it to change, and Make a new one asks again. Nothing is added until you choose, and you can go on without one. Get help from AI with the goal and tools opens the build helper (guide T4).
Or start from an example. Below the goal are a few ready-made activities; See all opens every template, including Start from scratch. An example fills in the goal, the name and the tools, and you can change everything afterwards. If you have already written something, you are asked before it is replaced. An example does not change the students' language.
Select Next: Tools when the goal and the name are filled in.
Step 3 — Tools: what will the students work with?
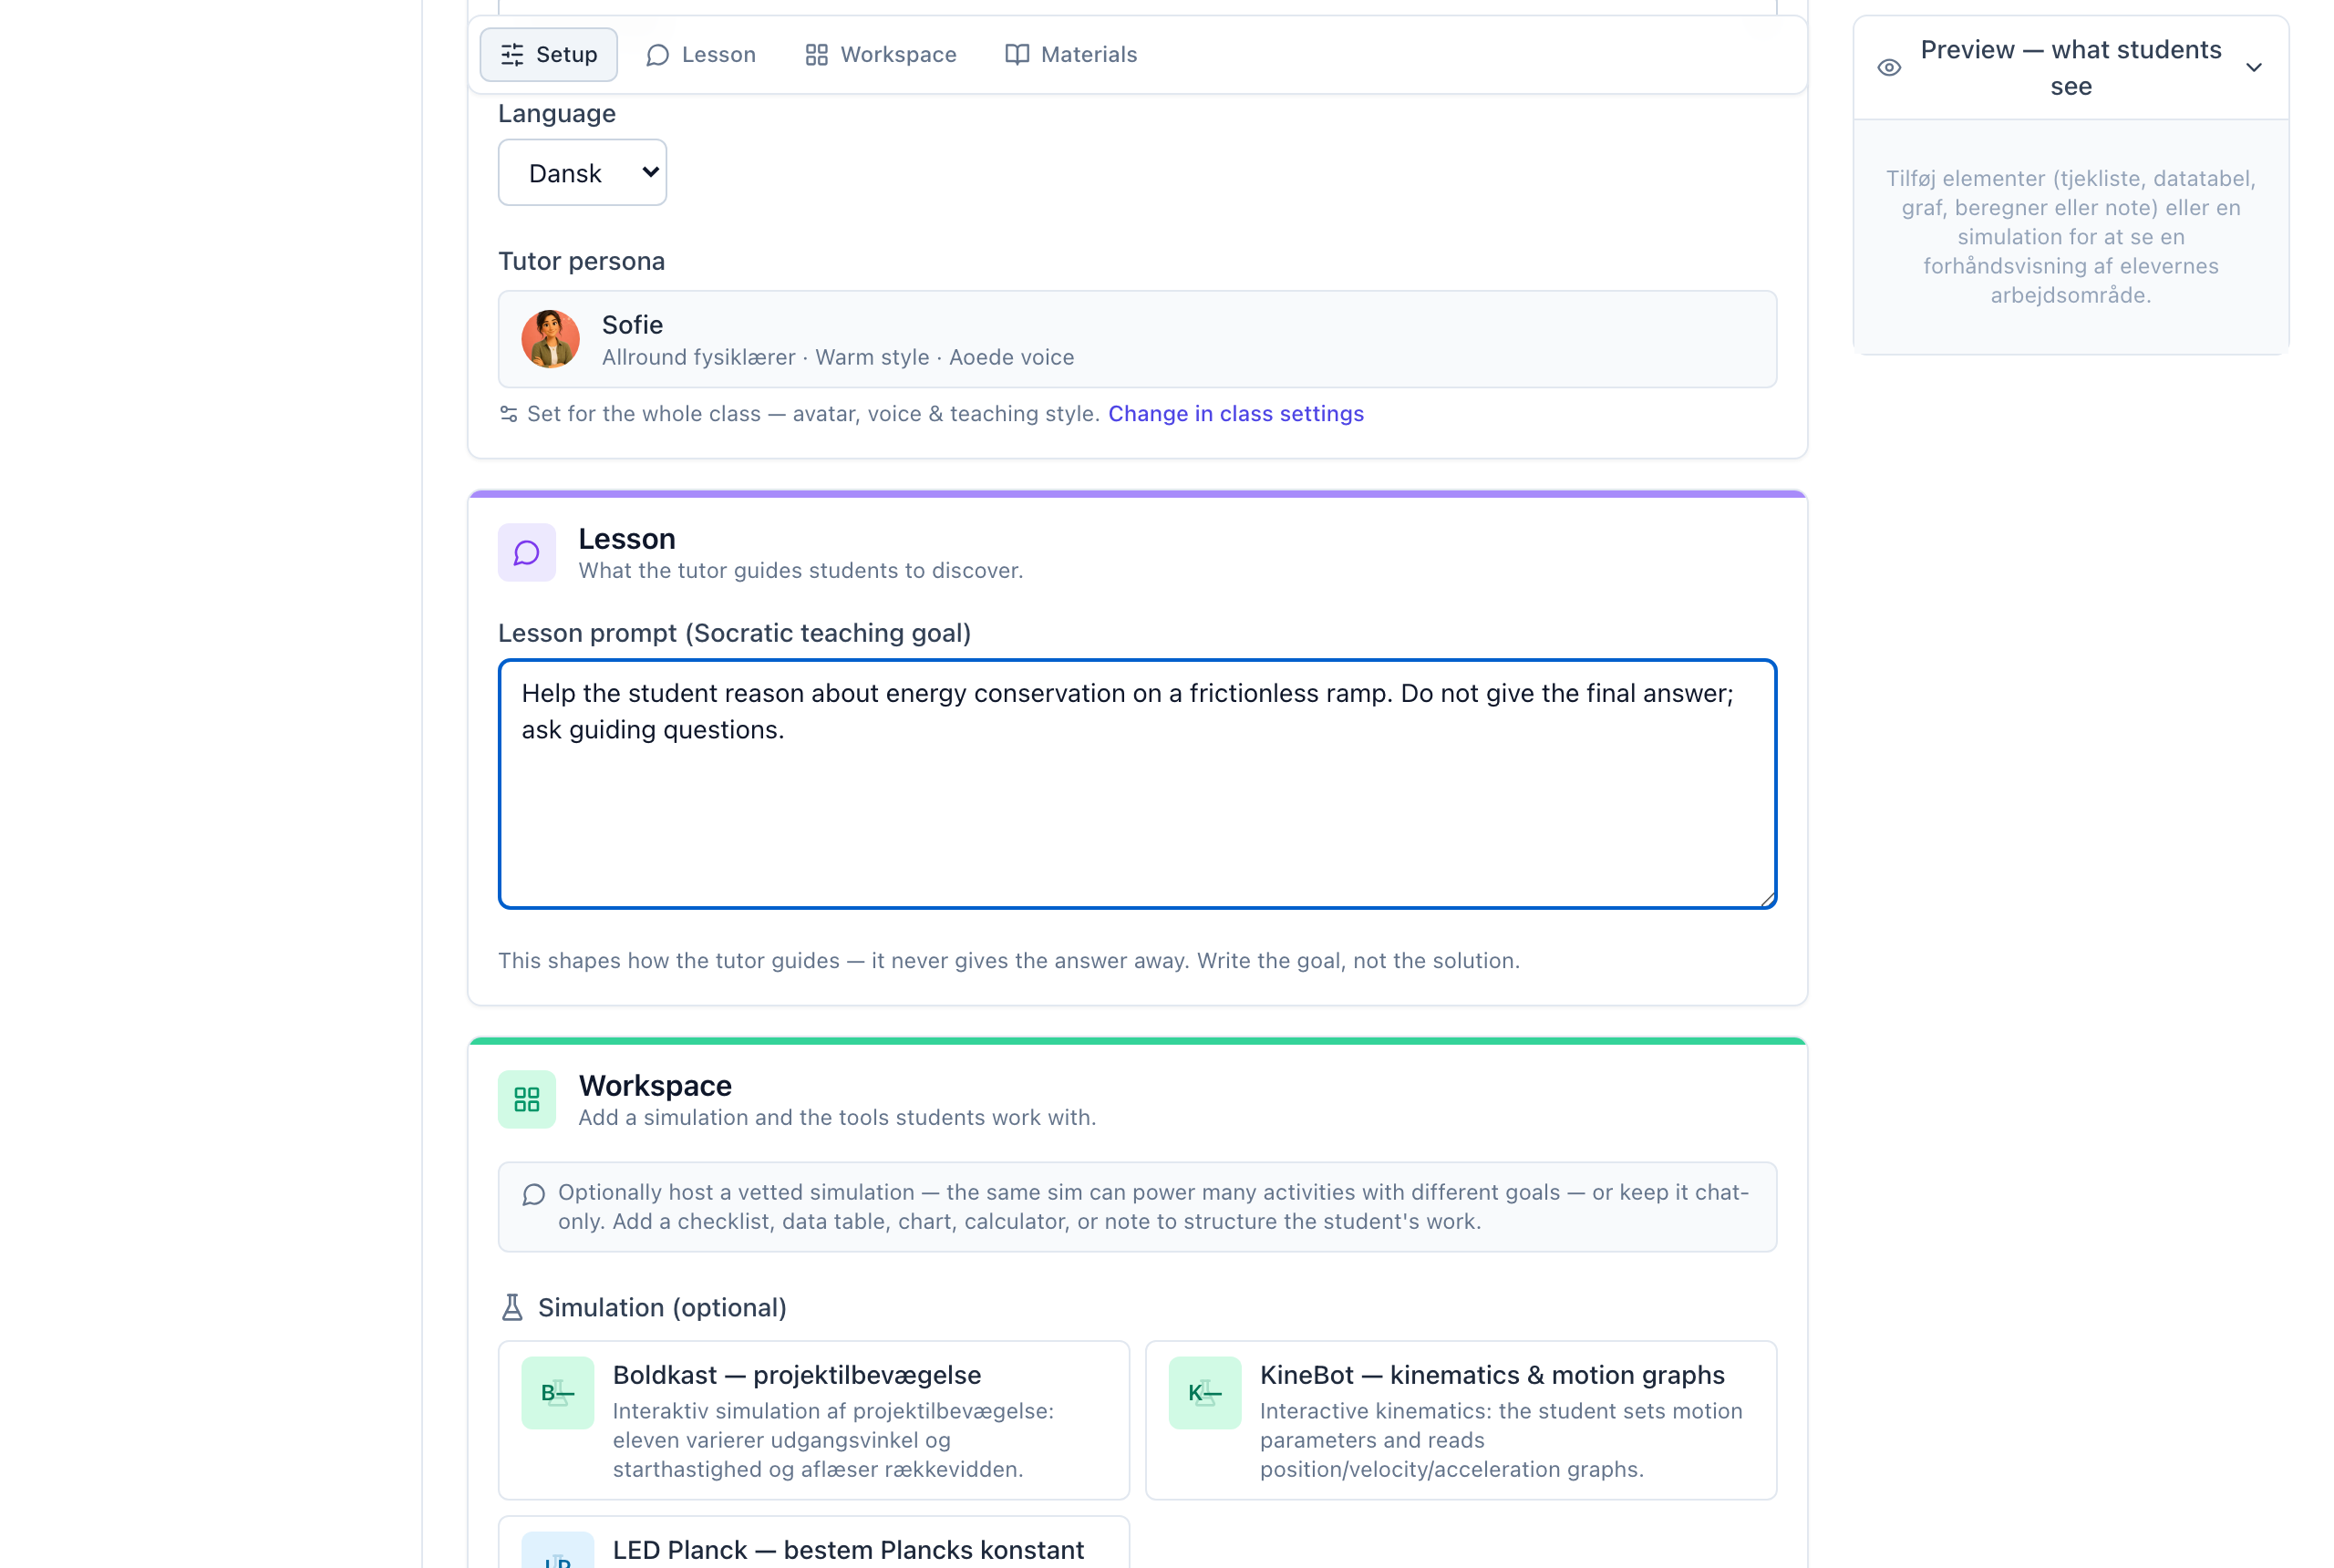
Pick as many tools as you like — a simulation, a checklist, a data table, a chart, a calculator, a note, a writing field and more. Each tile says in a few words what it is for. Choosing Simulation opens a picker of the available simulations. What you have picked appears under Selected as a card with Edit; its ⋯ menu removes it, and Undo brings it back.
With no tools, the activity is a conversation with the tutor. That is a good choice for a conceptual dialogue.
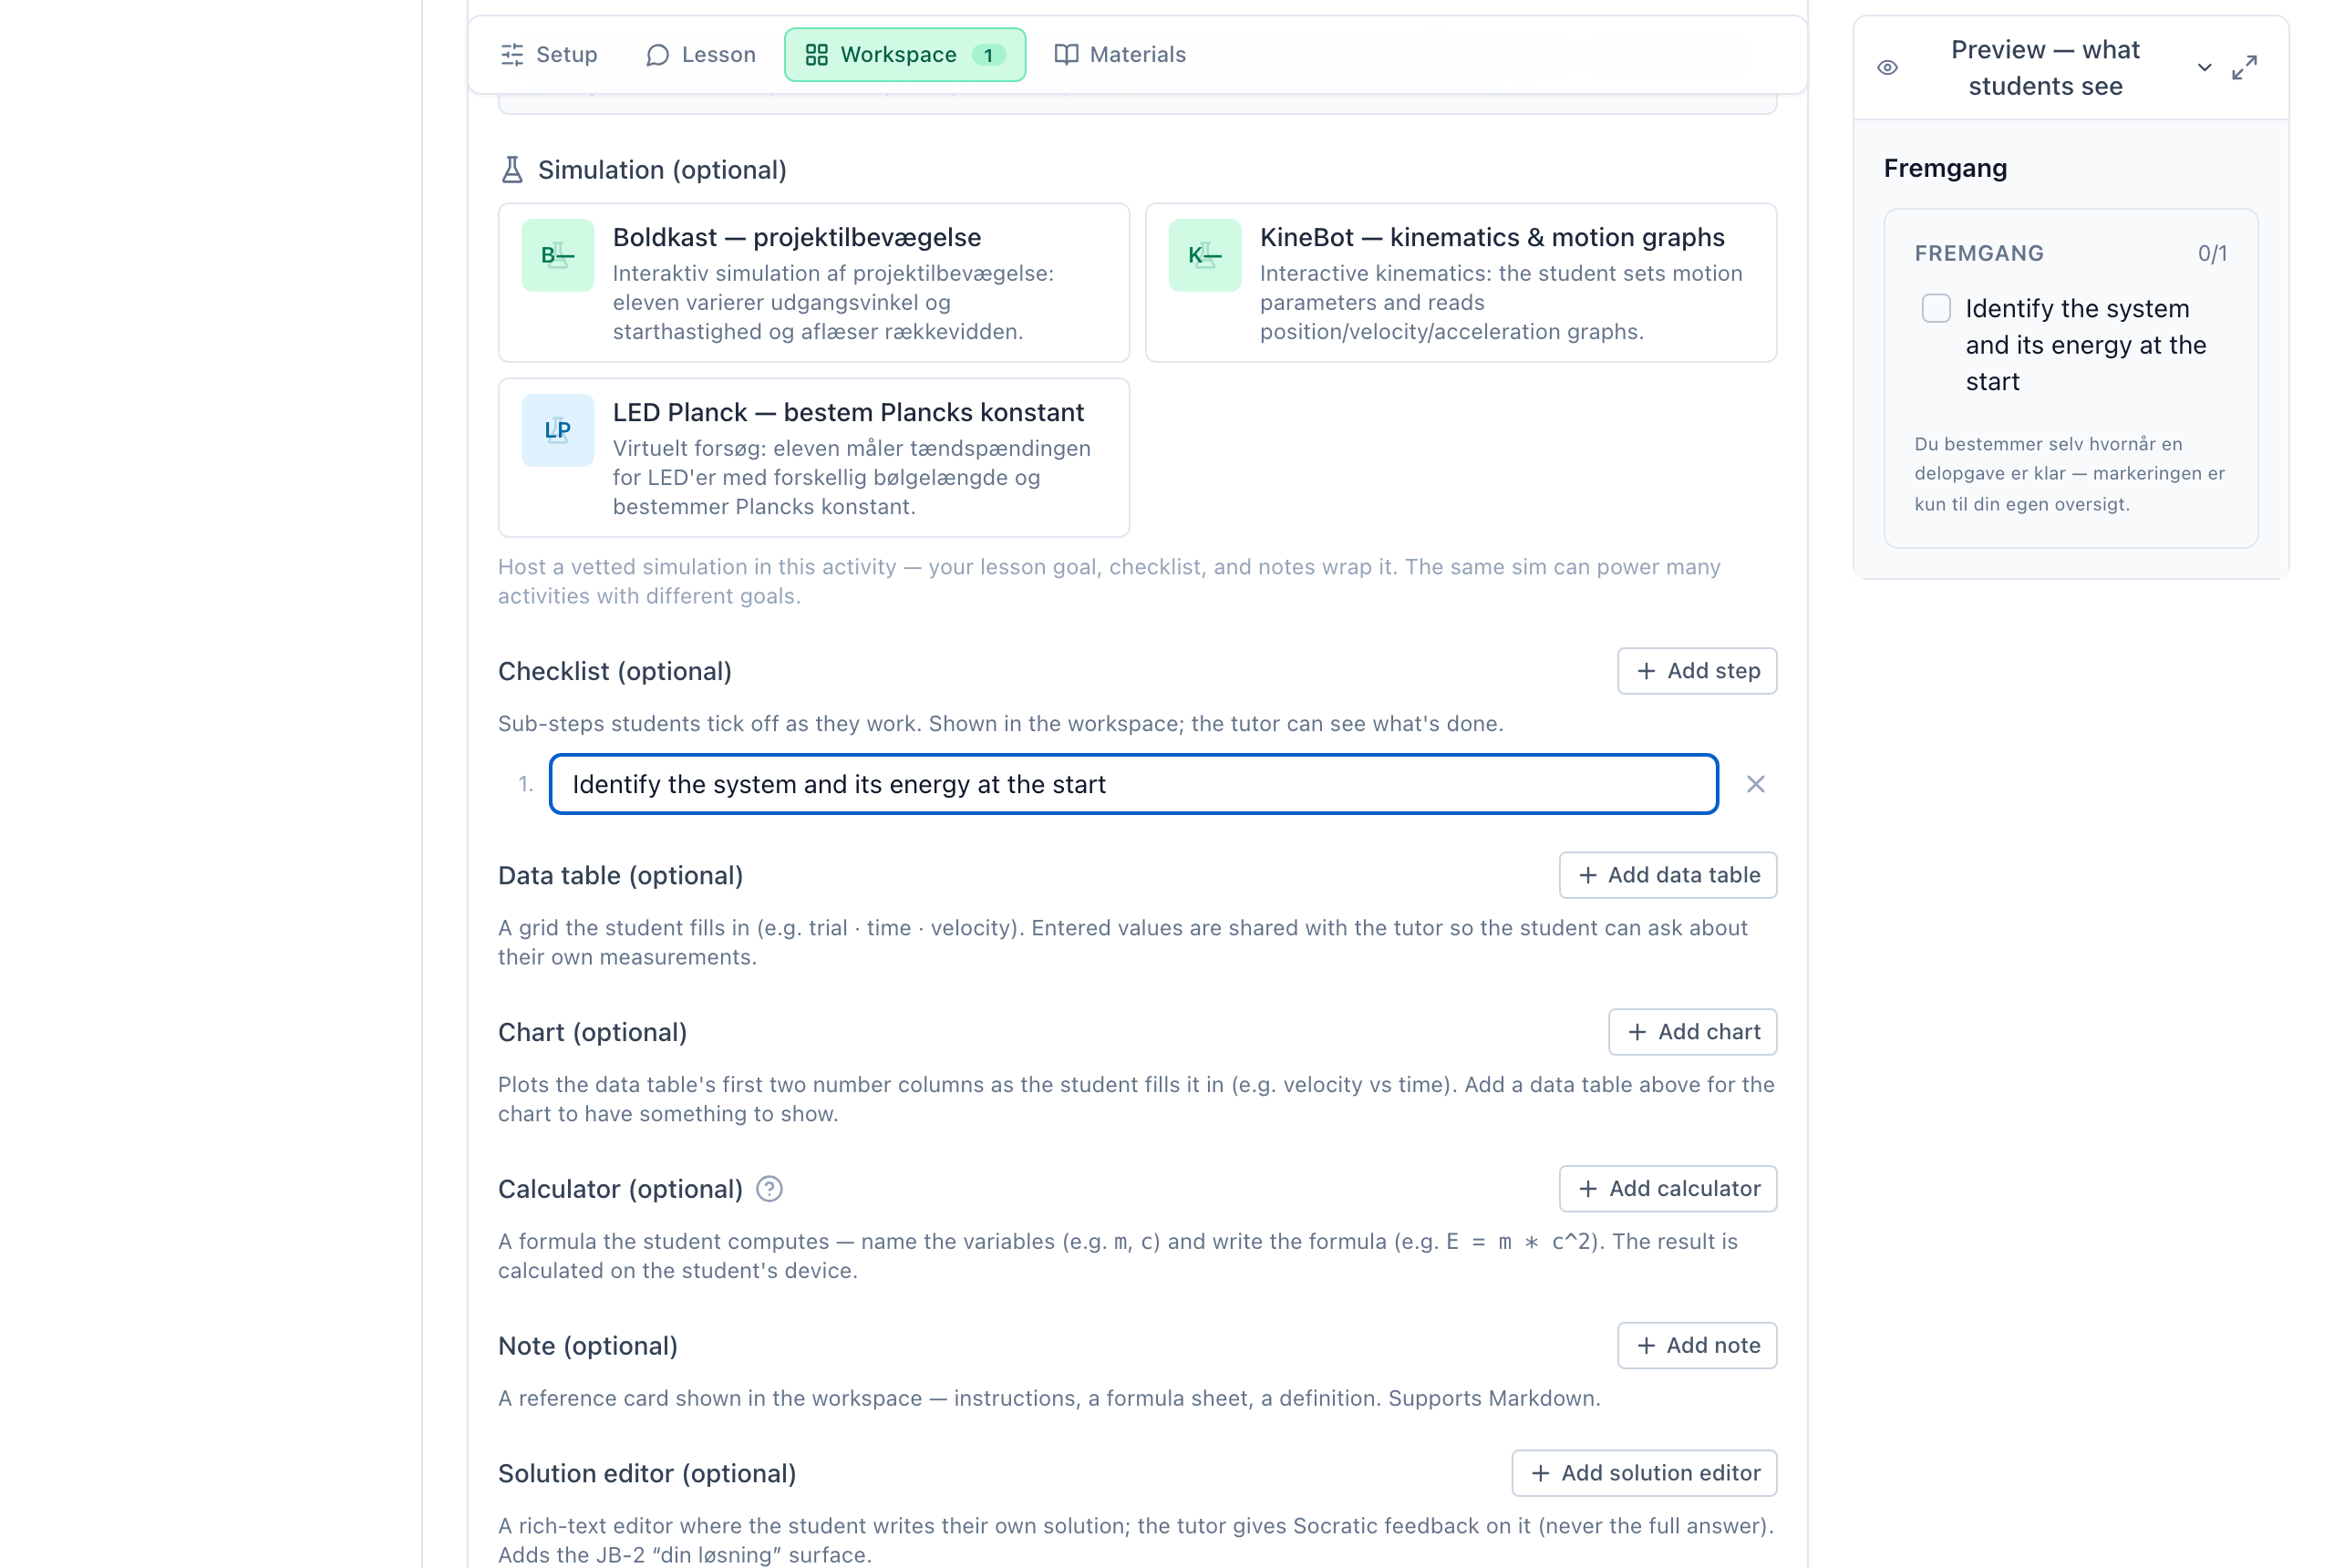
Select Next: Check and start.
Step 4 — Check and start
The last step lists what you chose, one row each: the name and goal, the tools, and The class's tutor. Edit on a row takes you back to that step; Change in the class changes the tutor on the class page.
More settings holds everything else. Each has a default, so you can leave them alone:
- Student view — how the students' screen is arranged.
- Students see first — the introduction and the suggestions students can tap. See T5 — Introduce the tutor.
- Materials — documents the tutor can use. See T3 — Add and organise curriculum materials.
- Language — the language the students and the tutor use. It follows the class's language until you choose one here. (A student can still switch DA | EN for themselves.)
- Notes for the tutor — used only when the class's tutor has no set approach.
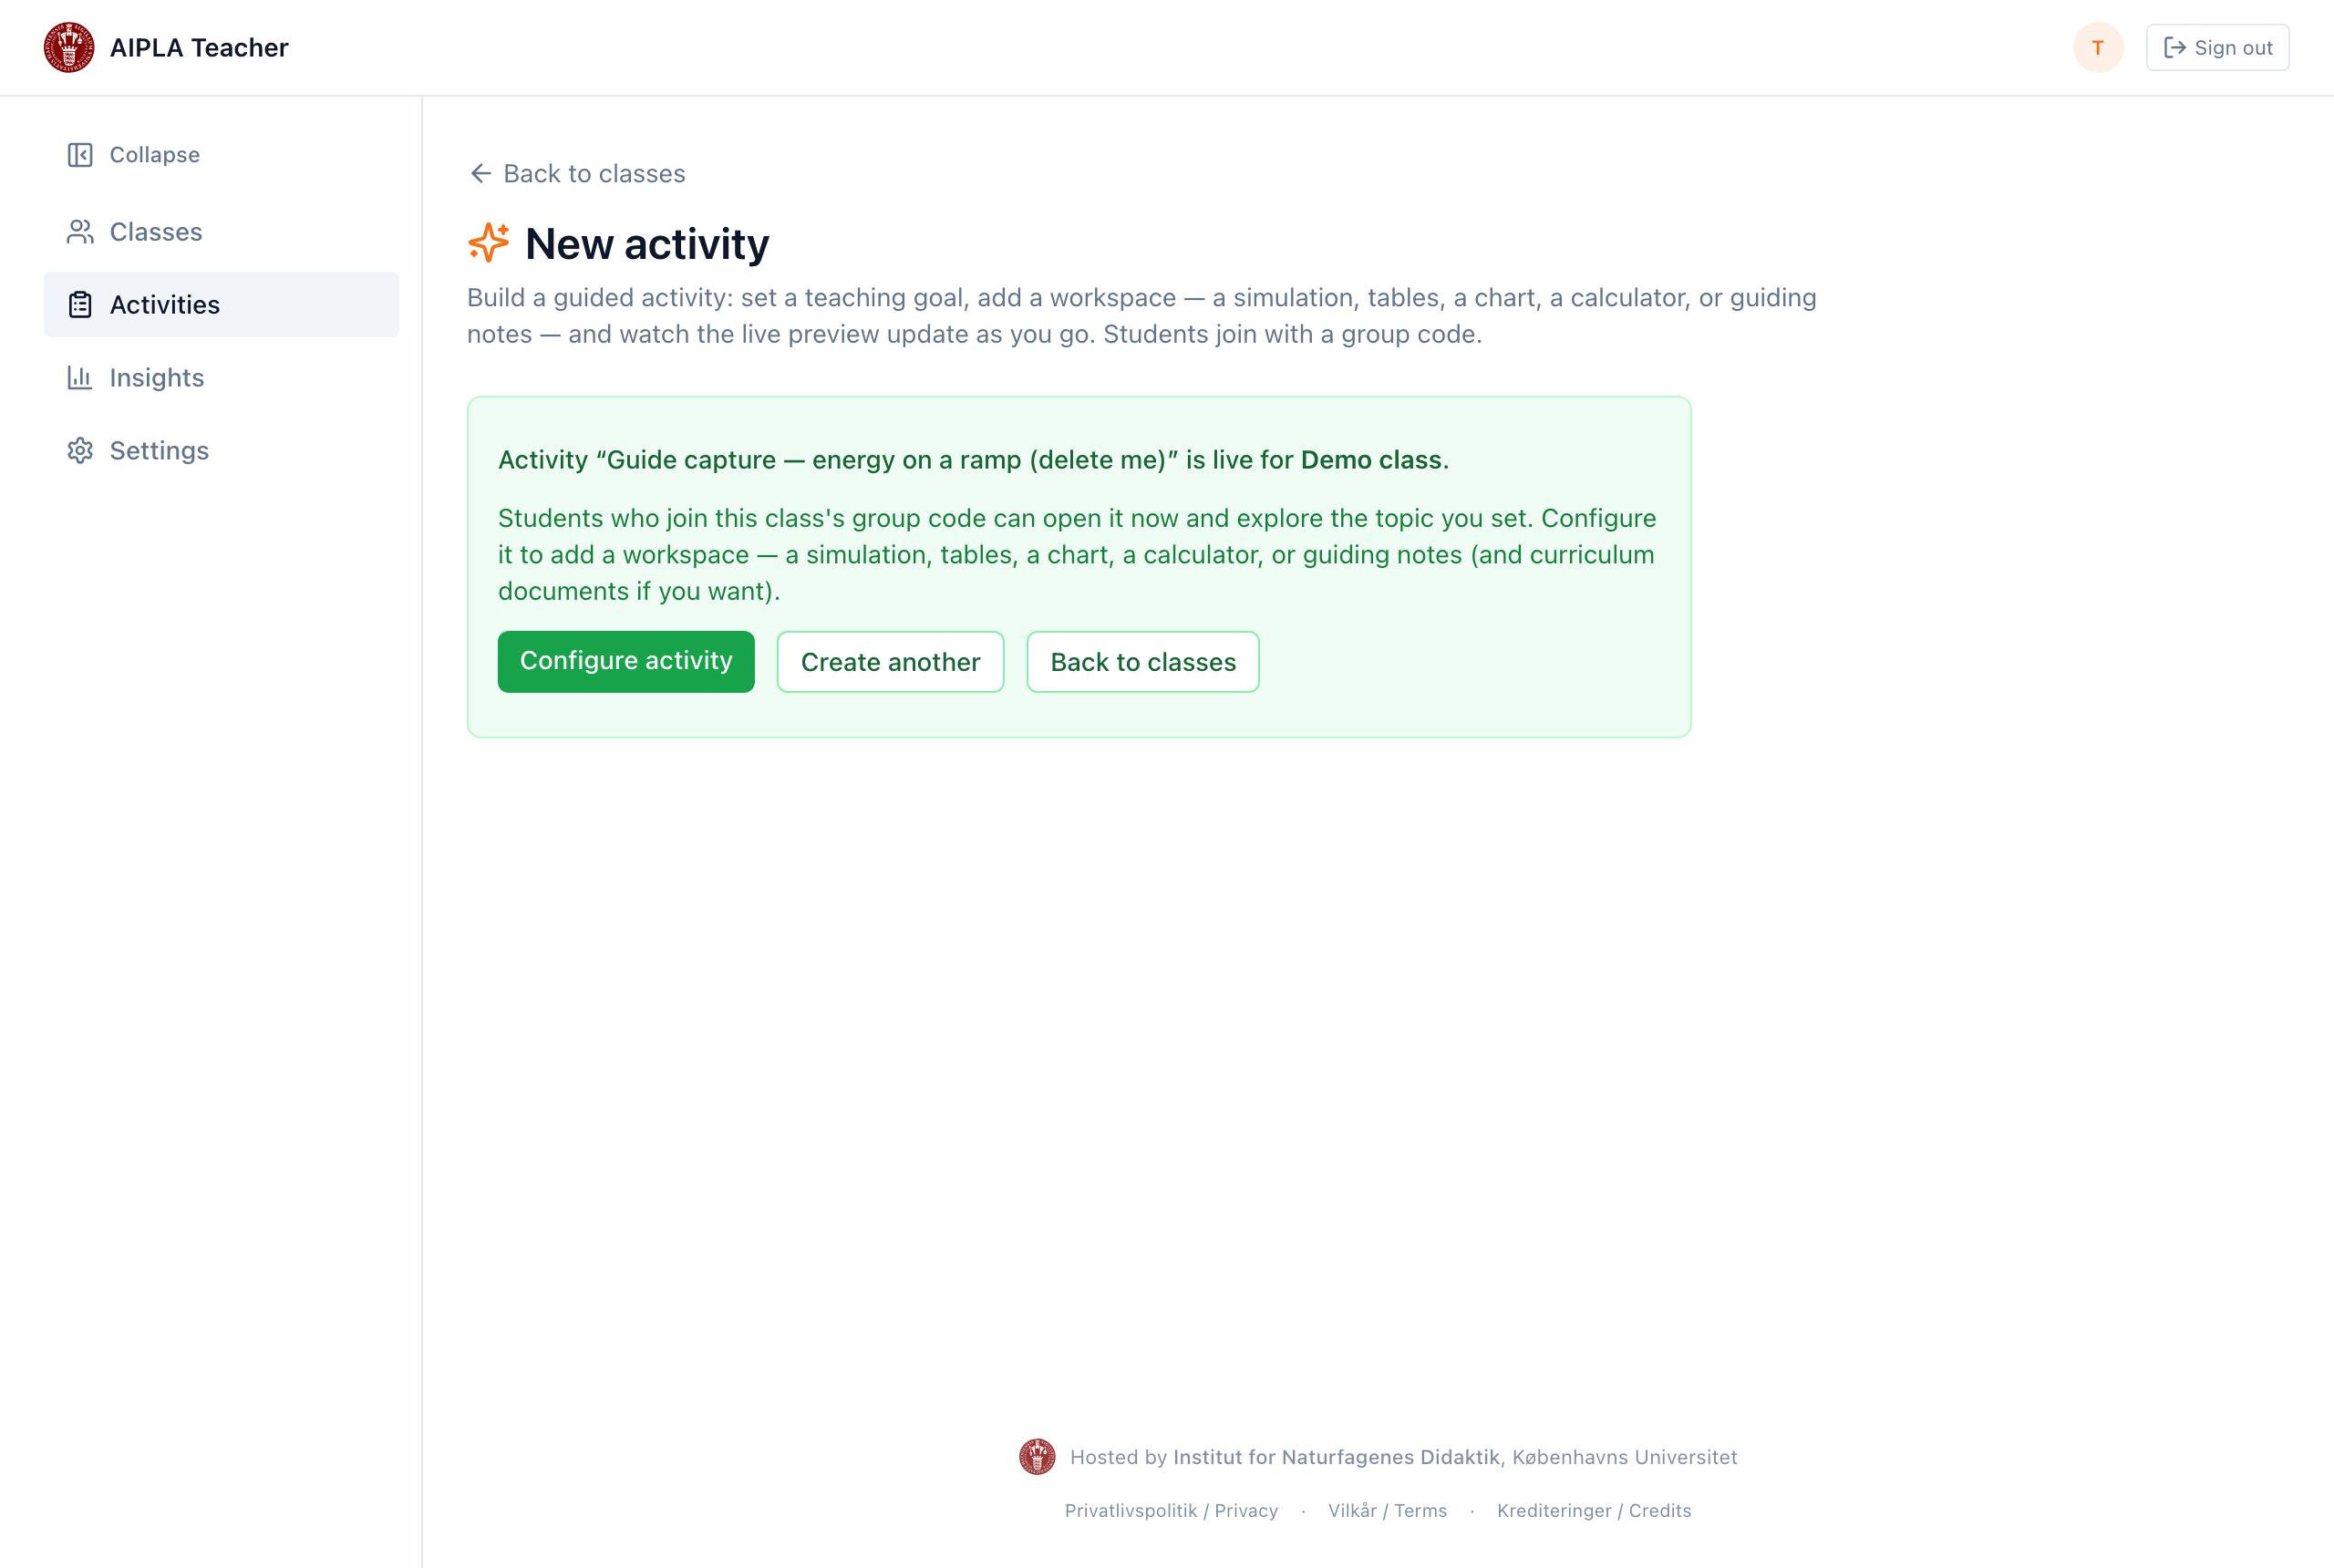
Tick Also share with colleagues (they can copy it) if you want other teachers to be able to copy the activity. Then select Create and give to your class. A short message confirms that the activity is created and live for your class — it also offers Create another, to start a fresh activity for the same class — and the activity opens in the editor.
Change it later: the editor
The editor shows the whole activity on one page, in four sections: Setup (the Activity name and Students' language), Lesson (What should students learn?, with any Notes for the tutor below it), Workspace (Add to the workspace) and Materials. A summary at the top shows the Tutor, the Student view and what Students see first, each with Change. A line under the title says when the activity was created and last edited.
There is one Save, at the bottom of the form; it stays on screen as you scroll. Try as student at the top opens the real student view in a new tab, tutor included, with no join code.
What students see
Students open the activity from the class group code (no login, no personal account — see S1 — Join and use your tutor). They get the tutor and, if you added any, the tools. The tutor works towards the goal you set and can see the work the student does in the workspace.
Next steps
- Add curriculum documents so the tutor can ground its answers in your materials — T3.
- Let the AI helper draft an activity from a plain-language description — T4 — Author with the AI co-pilot.
Last reviewed: · AIPLA project team